Arimaa/Elephant and Camel Attacks/Ideal Placement of Pieces
< Arimaa < Elephant and Camel AttacksNote: For simplicity, many examples below will assume that the Gold player is attacking the c6 trap. Naturally, the same theories apply equally to attacks against all 4 traps.
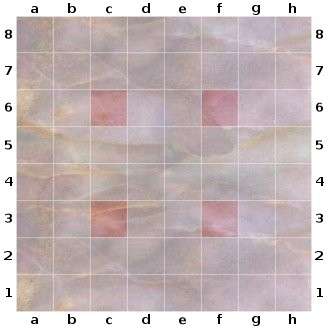
| |||||||||||||||||||||||||||||||||||||||||||||||||||||||||||||||||||||||||
| Gold controls the c6 trap by placing a Camel on b6 and an Elephant on d6. | |||||||||||||||||||||||||||||||||||||||||||||||||||||||||||||||||||||||||
When attacking an enemy trap, a very effective plan is to place the Camel on b6 and the Elephant on d6. The advantages of these squares are:
- if the enemy Elephant cannot reach c5 it is usually difficult for the defender to move a weaker piece to c5, making it problematic to defend the trap – even if a piece can reach c5 it may still be in danger of being pushed towards the c3 trap
- if the Camel is taken hostage it will be safe from the f6 trap and the enemy Elephant will become decentralized
- the Camel is located as far as possible from the enemy Elephant while still maintaining a convenient escape route along the ‘a’ or ‘b’ file
- a devastating Camel fork on d6 cannot occur while the Elephant occupies the square
- if the Silver Elephant is hostage-holding on the b6 square when the Gold Elephant occupies d6, the Silver Elephant cannot easily defended the f6 trap, if required
- the defensive position becomes highly cramped
After the attacker has completely controlled the trap, the attacker may shift the Camel to the c7 square. Some players even prefer to place the Camel on c7 at the very beginning of the attack, rather than on b6; both are effective strategies with the gold Elephant on d6. From the c7 square, the Camel can repeatedly capture any piece that occupy the c8 square for goal defense. If Silver abandons the c8 square, then Gold should advance a Rabbit toward the gap, if practicable to do so. The drawback to placing a Gold Camel on c7 is that it becomes more difficult to flee if the Silver Elephant approaches c5.
Sometimes a third attacker is advanced in order to secure the trap. It is best to avoid calling up a Horse into the attack unless absolutely necessary as the Gold army will become unbalanced and the home traps may be seriously weakened and vulnerable. Often a Rabbit is advanced along the outside either to assist in a potential escape, by unfreezing the Camel, or to create a goal threat in order to prevent a scattering by the defender.