

Word 2010
Adding Breaks
Breaks
Video: Adding Breaks in
Word 2010
 Watch the video (2:23).
Breaks allow you to have more control over the layout of your document. You might use a page break if you're writing a paper that has a bibliography to ensure the bibliography starts on a new page. You might use a column break if you are using columns and want them to be arranged in a particular way.
To insert a break:
- Place the insertion point where you want the break to appear.
- Select the Page Layout tab.
- Click the Breaks command. A menu appears.
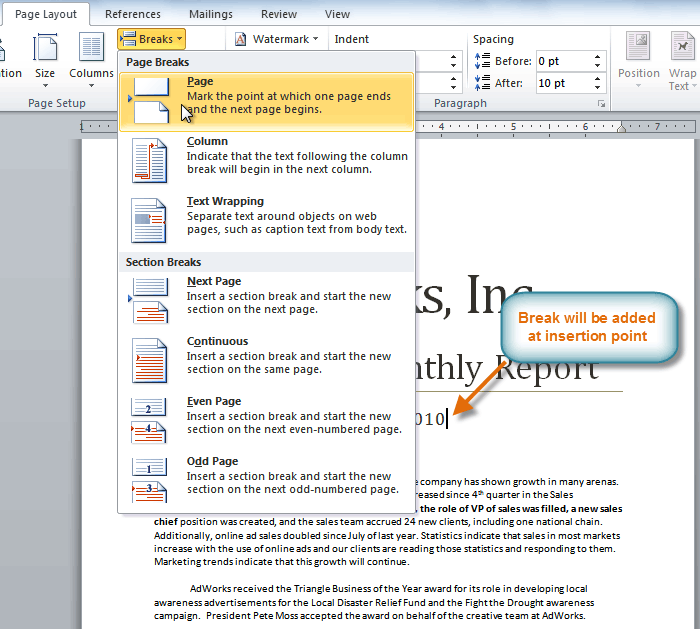 Adding a page break
 - Click the desired break option to create a break in the document.
To delete a break:
Breaks are hidden by default. If you want to delete a break, you'll probably want Word to show the breaks so you can find them for editing.
- From the Home tab, click the Show/Hide ¶ command.
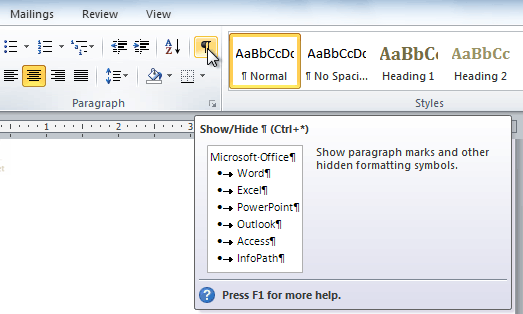 Showing paragraph markings
 - Double-click the break to select it.
 Selecting the break
 - Press the Backspace or Delete key to delete the break.


